
It still does. And while I don't make my own soap, I confess to having an old quart Mason jar in our supply cabinet in the bathroom where soap chips go to live when they are too small to use. Once the jar is full, the rebatching can begin!
First, you will want to save soap chips that are fairly small, about the size of the sliver that starts to get annoying to use. If you save big chunks, you will have trouble with this first step, although it isn't out of the question for you to grate those big chunks and hotel bars with a hand grater. But your first step is dumping all the soap (bit by bit) in your food processor and processing it until it is powdery. You will have some small chips left, but that is OK. Be sure to keep the lid on your food processor until the dust settles, because soap dust in the nose makes you sneeze like crazy! (I promise your food processor will clean up just fine with a trip or two through the dishwasher -- it is just soap, after all.)
Next, put your soap powder in a microwaveable bowl and cover just barely with water; you are going to melt the soap, but you don't want it to take forever to dry. Microwave it in minute-long bursts until you can see the majority of the powder has melted, which took me about 3-5 minutes total.
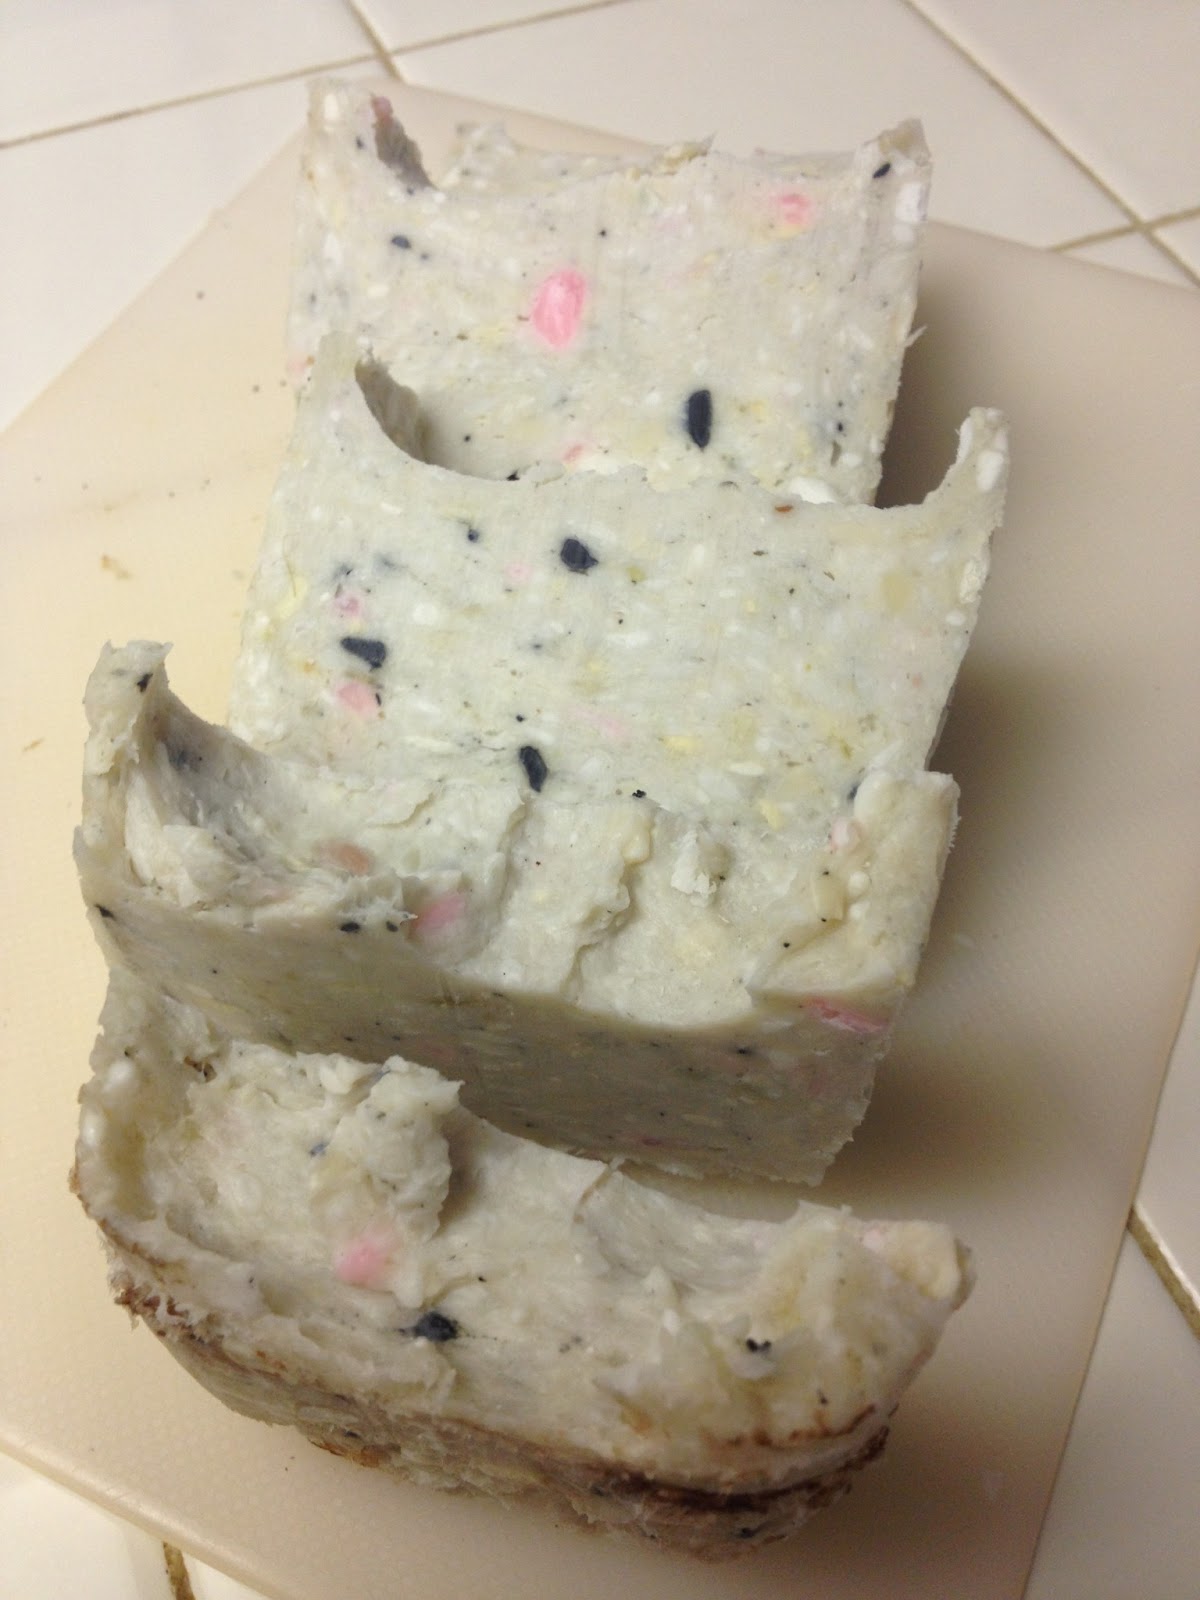
Finally, spread in a container of your choice. I plopped mine in an old cocoa container, which is why my finished soap has a little cocoa on it. (I didn't clean the container as well as I should have.) Spread it out, and let it dry in a cool room until solid -- I stuck mine in the sunroom. Then, remove it from the container (this is where having a container with flexible sides and no lip helps), and allow it to further cure and dry until hard. Slice into bars, and you have recaptured the lost soap that you wasted over the course of time. For me, I got five "travel sized" bars out of the soap I've been saving for just over a year.
The Analysis
Fast: OK, not particularly. But not too bad; the project probably took me an hour total, plus drying time.
Cheap: If I had been forgoing paying work for my writing clients or my Carrot Creations yoga sock clients to do this, it might not have been a good deal. But I used free time, and I probably recouped a couple of bucks in soap costs.
Good: This is definitely a "because I can" kind of project, but I do enjoy the idea of saving my "lost" soap.

I love this - I have been saving the end bits of bars waiting until I have enough to figure out what to do with them. Now I know! Thanks
ReplyDelete